Creating eye‑catching bubble letters no longer requires weeks of practice or pricey workshops. By understanding a handful of core principles—stroke consistency, shading tricks, and scalable guides—any curious beginner can start drafting a playful alphabet in under ten minutes, making hand‑lettered signs, social‑media graphics, or birthday cards look professionally bubbly.
Why bubble letters have resurfaced in everyday design
From TikTok tutorials to DIY wedding décor, bubble lettering has become a go‑to style for anyone who wants a fun, approachable vibe. The trend’s rise is tied to the low barrier to entry: a single marker, a few practice sheets, and the willingness to experiment with curves are enough to produce recognizable results. Unlike intricate calligraphy, bubble letters rely on simple geometric foundations—circles and ovals—that translate well across digital and hand‑drawn media.
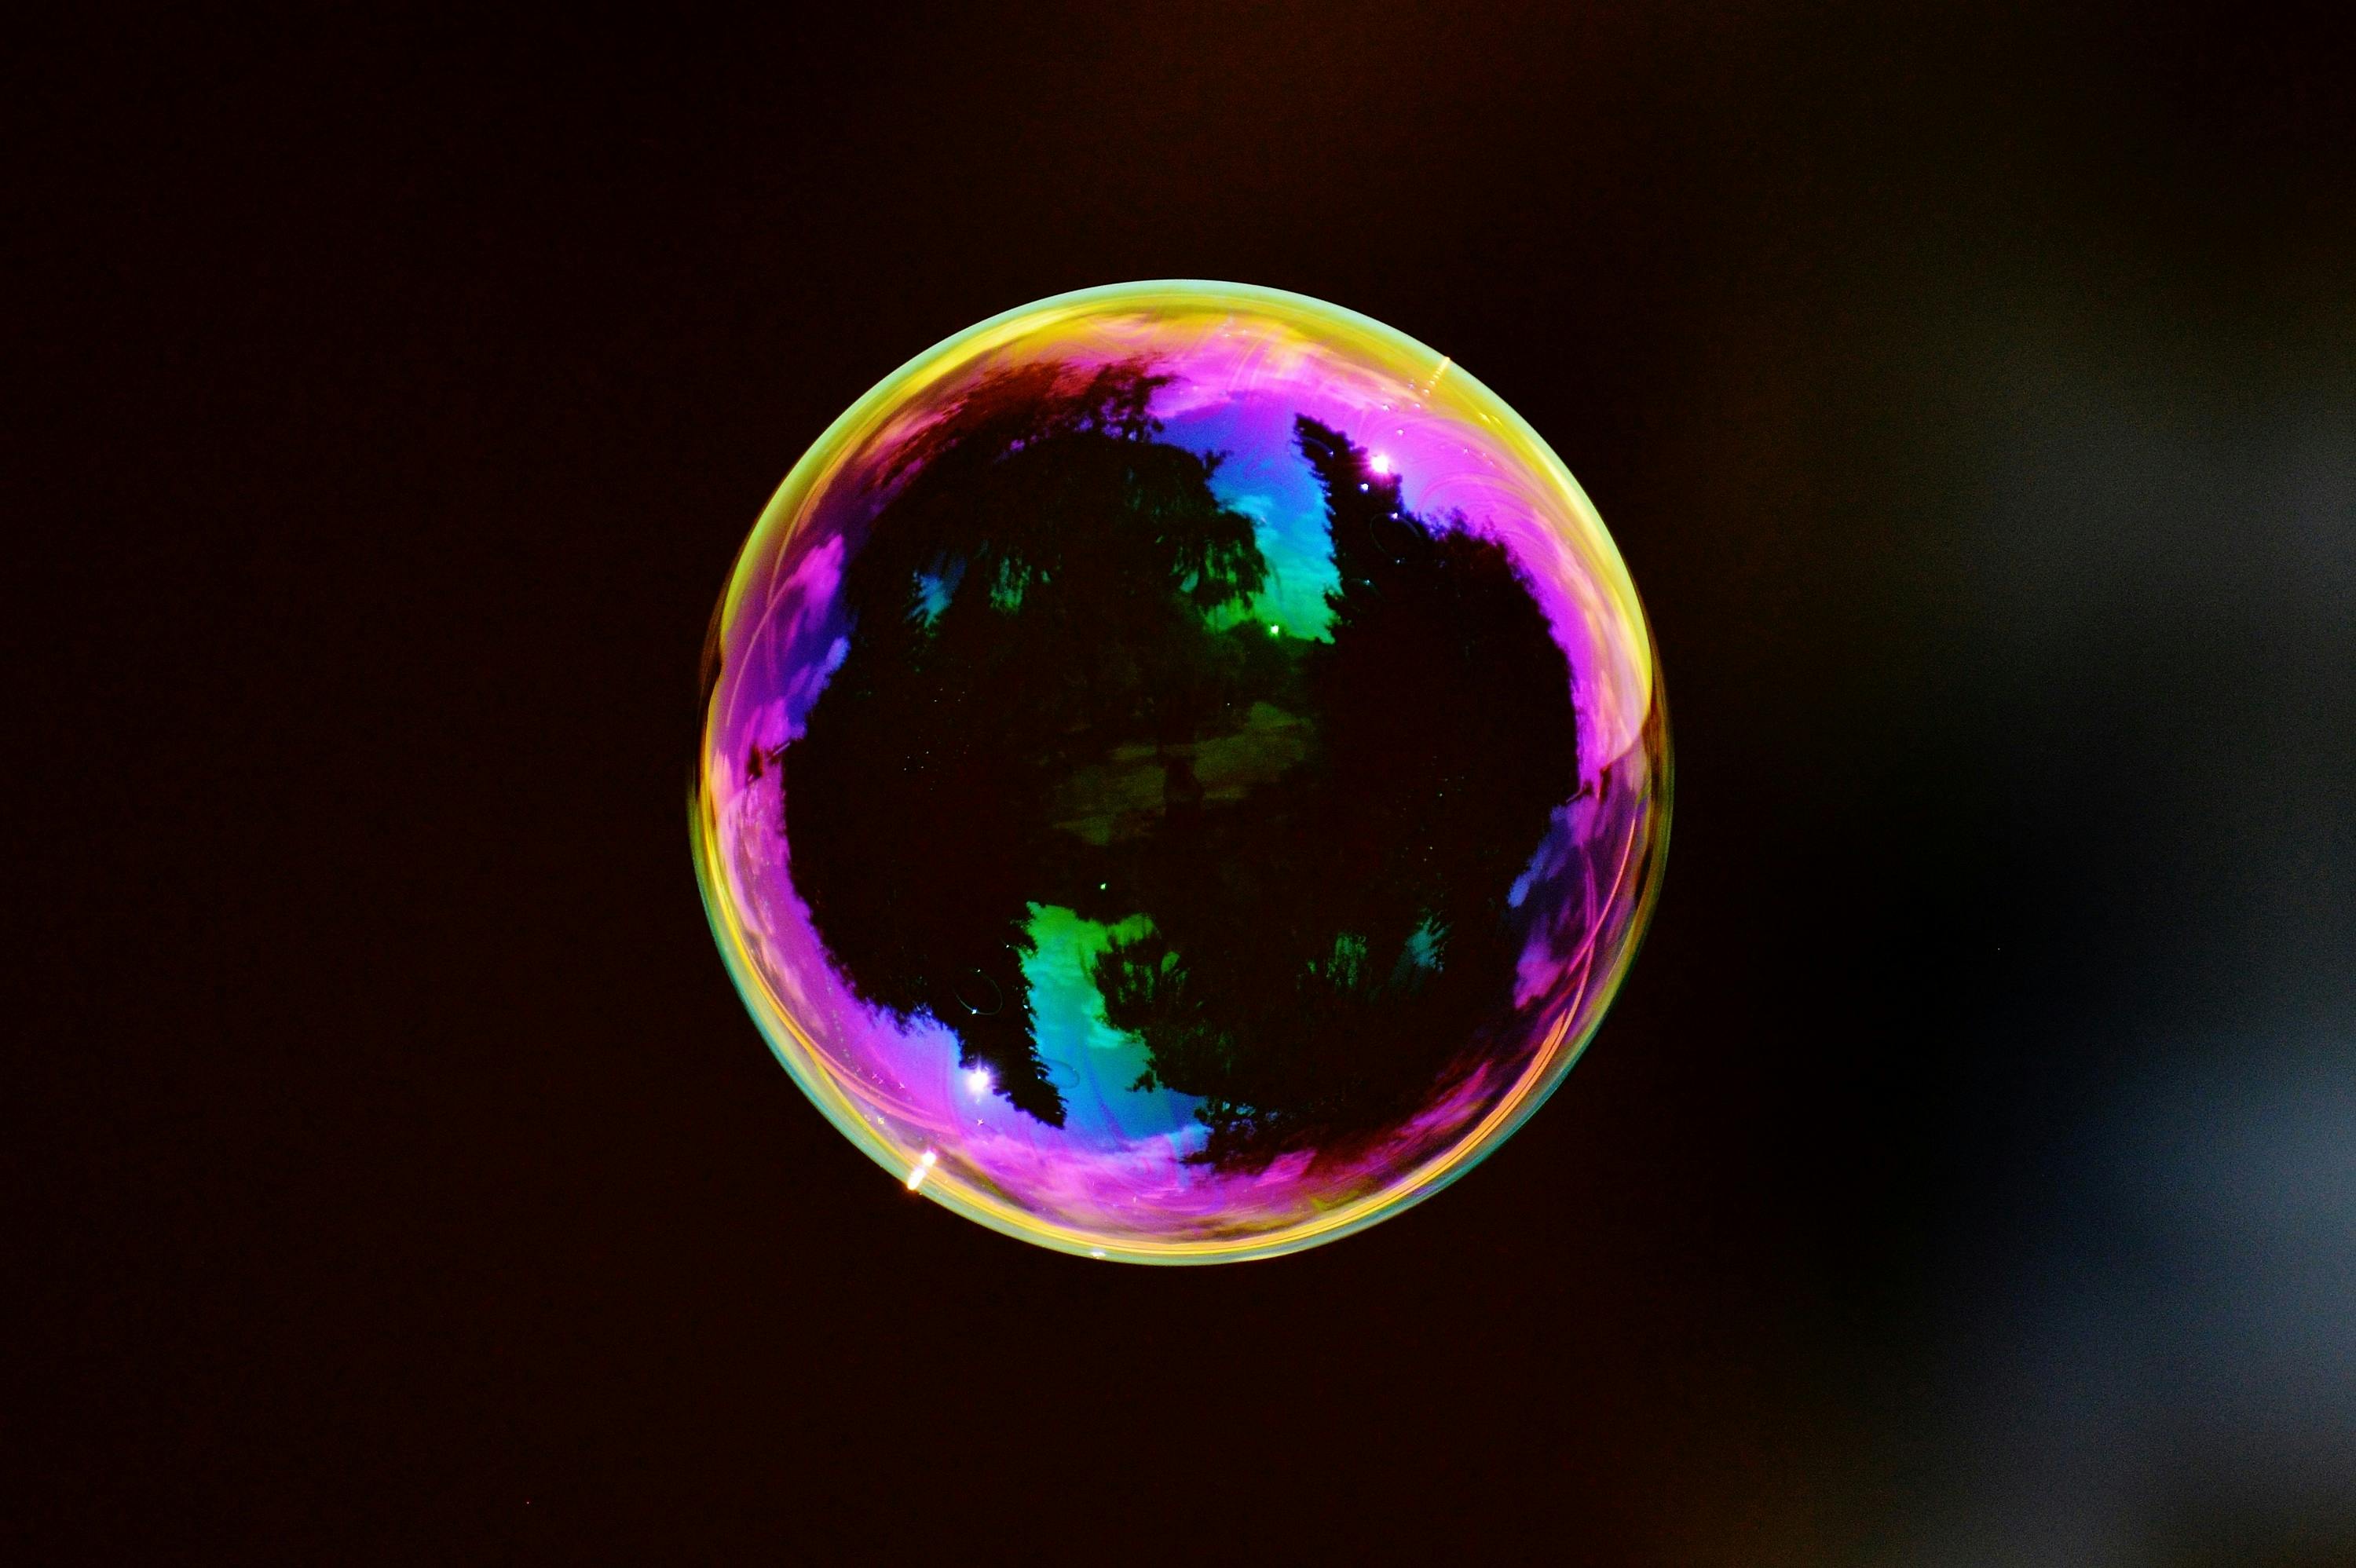
Step‑by‑step scenario: Turning a plain “A” into a bubbly centerpiece
Imagine you’re designing a birthday invitation and need a striking “A”. Start with a light pencil sketch of a standard block “A”. Next, overlay a series of equally spaced circles along each stroke—these become the “bubbles”. Connect the circles with smooth, flowing lines, keeping the outer contour slightly larger than the inner guide to create depth. Finally, shade the lower right side of each bubble with a darker tone to suggest a light source, and outline the whole letter with a bold marker for contrast. The result is a three‑dimensional “A” that pops off the page.
Pros you’ll notice immediately
- Speed: Once the circular guide is internalized, each letter can be completed in under a minute.
- Scalability: The same method works for tiny logo tags or oversized wall murals without losing readability.
- Versatility: By adjusting the bubble size, you can shift from a subtle rounded style to an exaggerated cartoon look.
Trade‑offs to keep realistic expectations
- Uniformity can be tricky; uneven bubble spacing may make the alphabet look sloppy.
- Heavy shading improves depth but can become time‑consuming if you aim for a photorealistic finish.
- Complex scripts (e.g., cursive) require additional planning to preserve legibility while maintaining the bubbly aesthetic.
Practical tools and resources for quick mastery
For beginners, a basic set of fine‑line pens, a graphite pencil, and a ruler are enough. Digital creators benefit from vector software that includes circle‑drawing shortcuts, allowing the same technique to be applied with scalable precision. Online galleries such as Pixabay host thousands of free bubble‑themed images that can inspire color palettes and shading styles.

Recommendation: A realistic practice plan for the curious beginner
Start with the alphabet’s straight‑line letters (E, F, H, I, L, T) to master the circle‑overlay method without grappling with curves. Spend 15 minutes per session, focusing on consistent bubble size and clean outlines. After two weeks, introduce diagonal and curved letters, then experiment with color gradients for added depth. By the end of a month, you should comfortably produce a full bubble alphabet ready for personal projects or client briefs, all while keeping the process enjoyable rather than overwhelming.
100,000+ Free Bubble Clouds & Bubble Images - Pixabay

100,000+ Free Bubble Clouds & Bubble Images - Pixabay
Landscape Soap Bubble Background 66480189 Stock Photo At Vecteezy

landscape soap bubble background 66480189 Stock Photo at Vecteezy
Bubble Clipart, Whimsical Bubbles Graphics, Wall Art, Digital Designs

Bubble Clipart, Whimsical Bubbles Graphics, Wall Art, Digital Designs ...